Qlogic QConvergeConsole GUI | 安装与使用指南
1. First | 序
最近把玩了几块 Qlogic 的 NIC
于是乎把 QConvergeConsole GUI 也一并安装在了服务器上
此文做个记录已备翻找
需要注意的是 QConvergeConsole GUI 已停止支持
目前用途主要是查看网卡信息以及更改一些有限的 Advanced Params
1.1. OS&APP Version | * 版本
-
OS
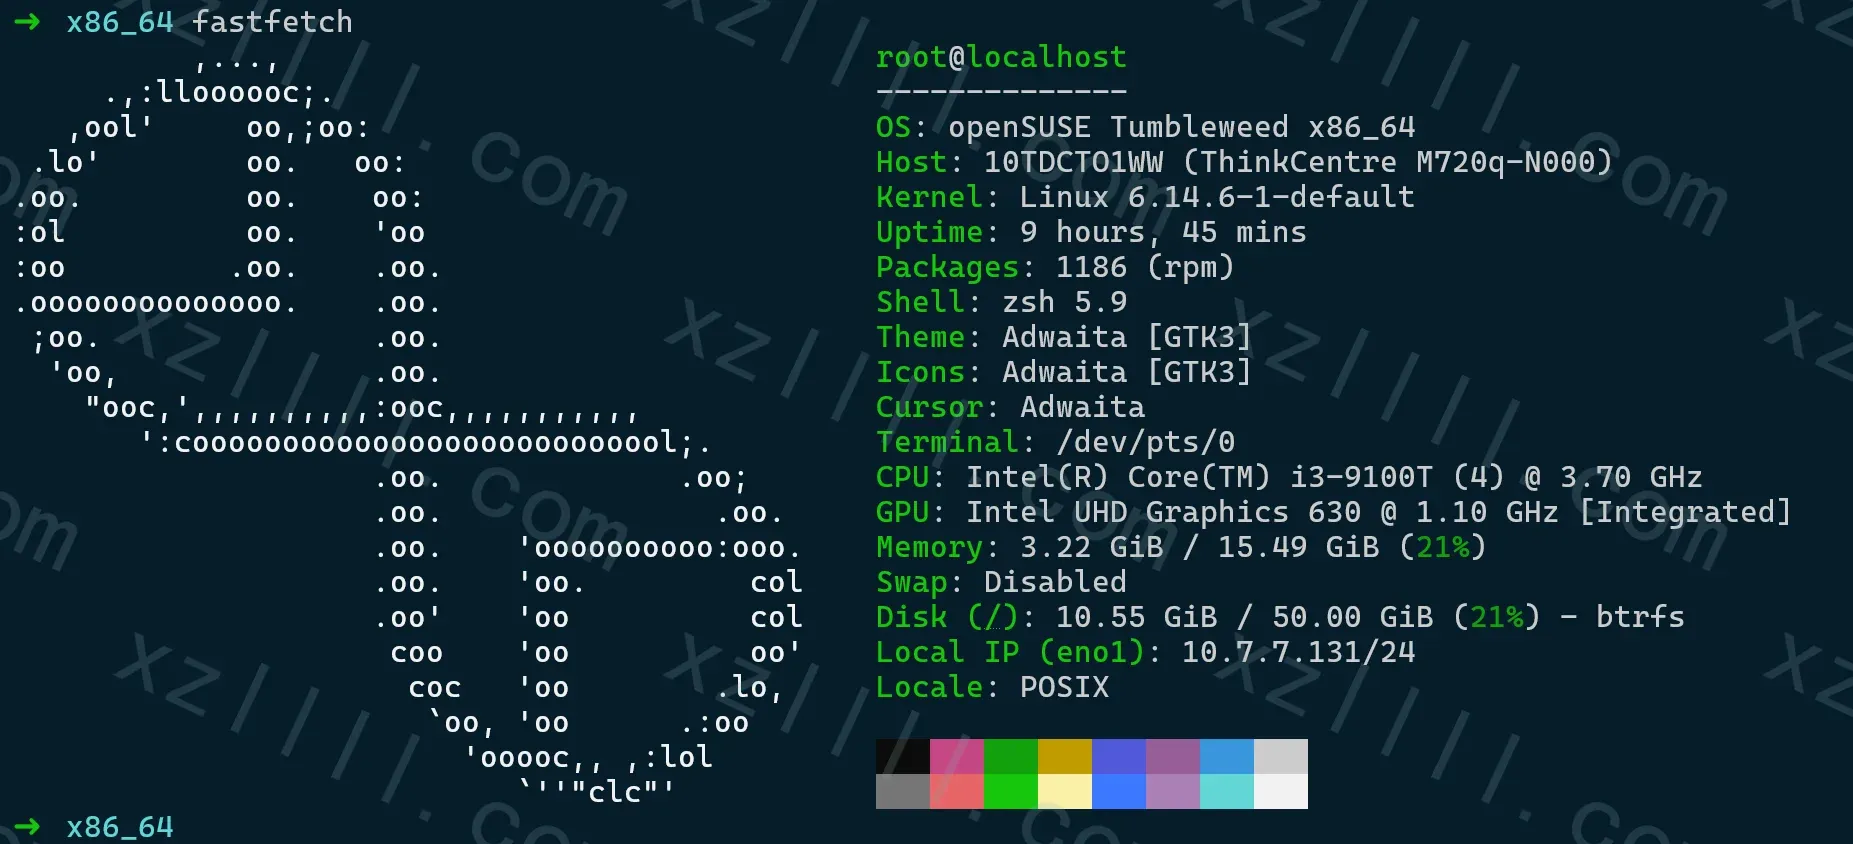
已附有操作系统内核中加载的 软件驱动程序qed qede
-
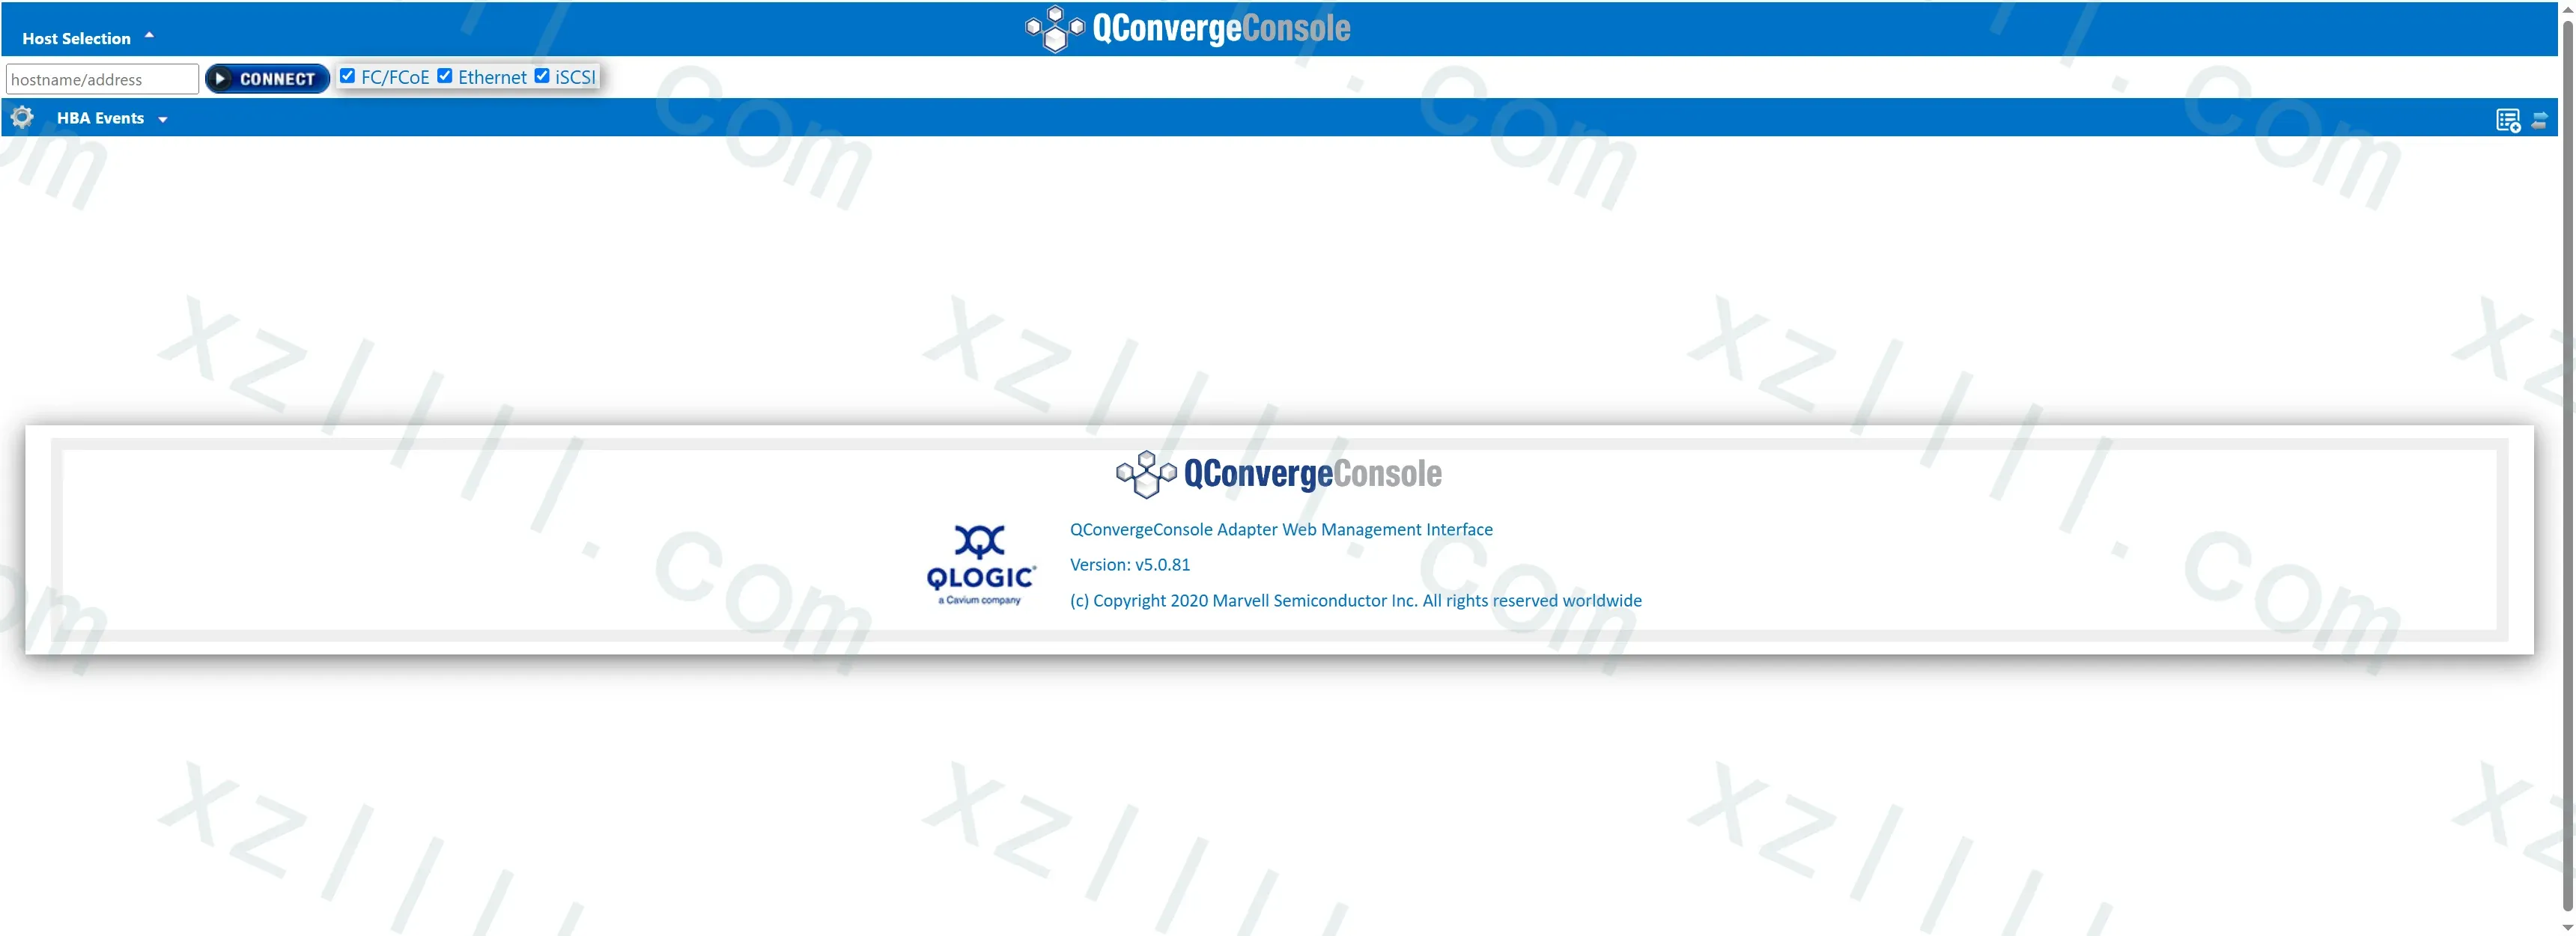
QConvergeConsole GUI
v5.5.0.81
1.2. Knowledgebase | 知识库
-
QConvergeConsole GUI 架构
组件 作用 属于 C/S 架构的哪一端 QConvergeConsole GUI 图形化管理工具,运行在管理员电脑上,用于集中配置和管理网卡设备 Client(客户端) qlnxremote Agent 运行在被管理主机上的守护进程,响应控制台请求并执行网卡配置命令 Server(服务端)
2. Install | 安装
2.1. Procedure | 步骤
步骤主要包括以下内容
- 获取zip安装包
- 解压zip包
- bin文件赋权
- 安装 QConvergeConsole GUI
- 安装 Agent (qlnxremote)
2.1.1 获取zip安装包
首先我们需要获取相应的zip安装包
⤵️ 单击打开以下网址


根据需要选择网卡和操作系统类型等

找到 QConvergeConsole 并单击下载

2.1.2. 解压zip包
使用unzip
unzip Linux_QCC_GUI_64_v5.5.0.81.zip
解压完成后目录结构如下所示
➜  Linux_QCC_GUI_64_v5.5.0.81 tree
.
|-- Agent
|   |-- qlnxremote-1.275.1000.188-1.x86_64.rpm
|   `-- readme_installer_Linux.txt
|-- QConvergeConsole_Installer_Linux_x64_5_5_0_81.bin
|-- readme.txt
|-- readme_installer.txt
|-- release_notes.txt
`-- release_notes_installer.txt

2 directories, 7 files
2.1.3. bin文件赋权
使用chmod完成
chmod +x QConvergeConsole_Installer_Linux_x64_5_5_0_81.bin
2.1.4. 安装 QConvergeConsole GUI
使用以下命令启动bin文件完成安装
./QConvergeConsole_Installer_Linux_x64_5_5_0_81.bin
⤵️ 步骤如下供参考
===============================================================================
Pre-Installation Summary
------------------------

Please Review the Following Before Continuing:

Product Name:
    QConvergeConsole

Install Folder:
    /opt/QLogic_Corporation/QConvergeConsole

Link Folder:
    DO NOT INSTALL

Disk Space Information (for Installation Target):
    Required:      394,046,921 Bytes
    Available: 336,000,331,776 Bytes

PRESS <ENTER> TO CONTINUE:


===============================================================================
Tomcat Port Number Configuration
--------------------------------

Please enter desired port number:

Port Number: (Default: 8080): 65008


===============================================================================
Localhost Access Request
------------------------

Do you want to restrict access to localhost only?

Localhost Access Only (YES/NO) (Default: NO): NO


===============================================================================
Installing...
-------------

 [==================|==================|==================|==================]
 [------------------|------------------|------------------|------------------]


===============================================================================
Security Login Configuration
----------------------------


Do you want to enable Security Login? (YES/NO) (Default: NO): YES
Input Entered: YES


Login ID: (Default: QCC):
Input Entered: QCC
Password: (Default: config): xzllll
Input Entered: xzllll
Security Login Is Enabled.


===============================================================================
Setup SSL
---------

Do you want to enable SSL feature?

Enable SSL (YES/NO) (Default: YES):


===============================================================================
Tomcat SSL Port Number Configuration
------------------------------------

Please enter desired SSL port number

SSL Port Number (Default: 8443): 65009


===============================================================================
Installation Status
-------------------

Restarting Tomcat

PRESS <ENTER> TO CONTINUE:


===============================================================================
Installation Status
-------------------

Configuring Security Login feature

PRESS <ENTER> TO CONTINUE:


===============================================================================
Installation Complete
---------------------

Congratulations! QConvergeConsole has been successfully installed to:

/opt/QLogic_Corporation/QConvergeConsole

You can open QConvergeConsole locally on the server or from a remote computer
if localhost only option is not selected.

To open QConvergeConsole locally on the server, enter the following as the Web
address in the browser's address bar:

http://localhost:<PORT_NUMBER>/QConvergeConsole/

The installation is complete, please press "ENTER" to finish cleaning up and
to quit the installer.

PRESS <ENTER> TO EXIT THE INSTALLER:
2.1.5. 安装 Agent (qlnxremote)
安装完成后 QConvergeConsole 还无法工作
我们需安装 Agent 也就是 qlnxremote 采集信息并完成指令
-
切换至 Agent 文件夹
cd Agent -
安装 qlnxremote
rpm --ignorearch -ivh qlnxremote-1.275.1000.188-1.x86_64.rpm -
systemd 管理 qlnxremote
安装完成后 qlnxremote 将自动注册 systemd 单元
所以可以使用 systemd 管理它systemctl start qlnxremote
qlnxremote 需要一些时间收集 NIC 信息
当 qlnxremote 开始监听端口时代表其初始化完毕
可以使用 ss 命令查看
ss -tunlp | grep "qlnxremote"
⤵️ 回显如下
udp   UNCONN 0      0                              0.0.0.0:686       0.0.0.0:*    users:(("qlnxremote",pid=1782,fd=9))
tcp   LISTEN 0      4096                           0.0.0.0:687       0.0.0.0:*    users:(("qlnxremote",pid=1782,fd=10))
3. Use | 使用
-
安装完毕后根据设定的端口和IP地址打开管理地址
-
左上角输入 Agent (qlnxremote) 的 IP 地址并选择类型
我这里因为是以太网卡,所以仅勾选 Ethernet 项
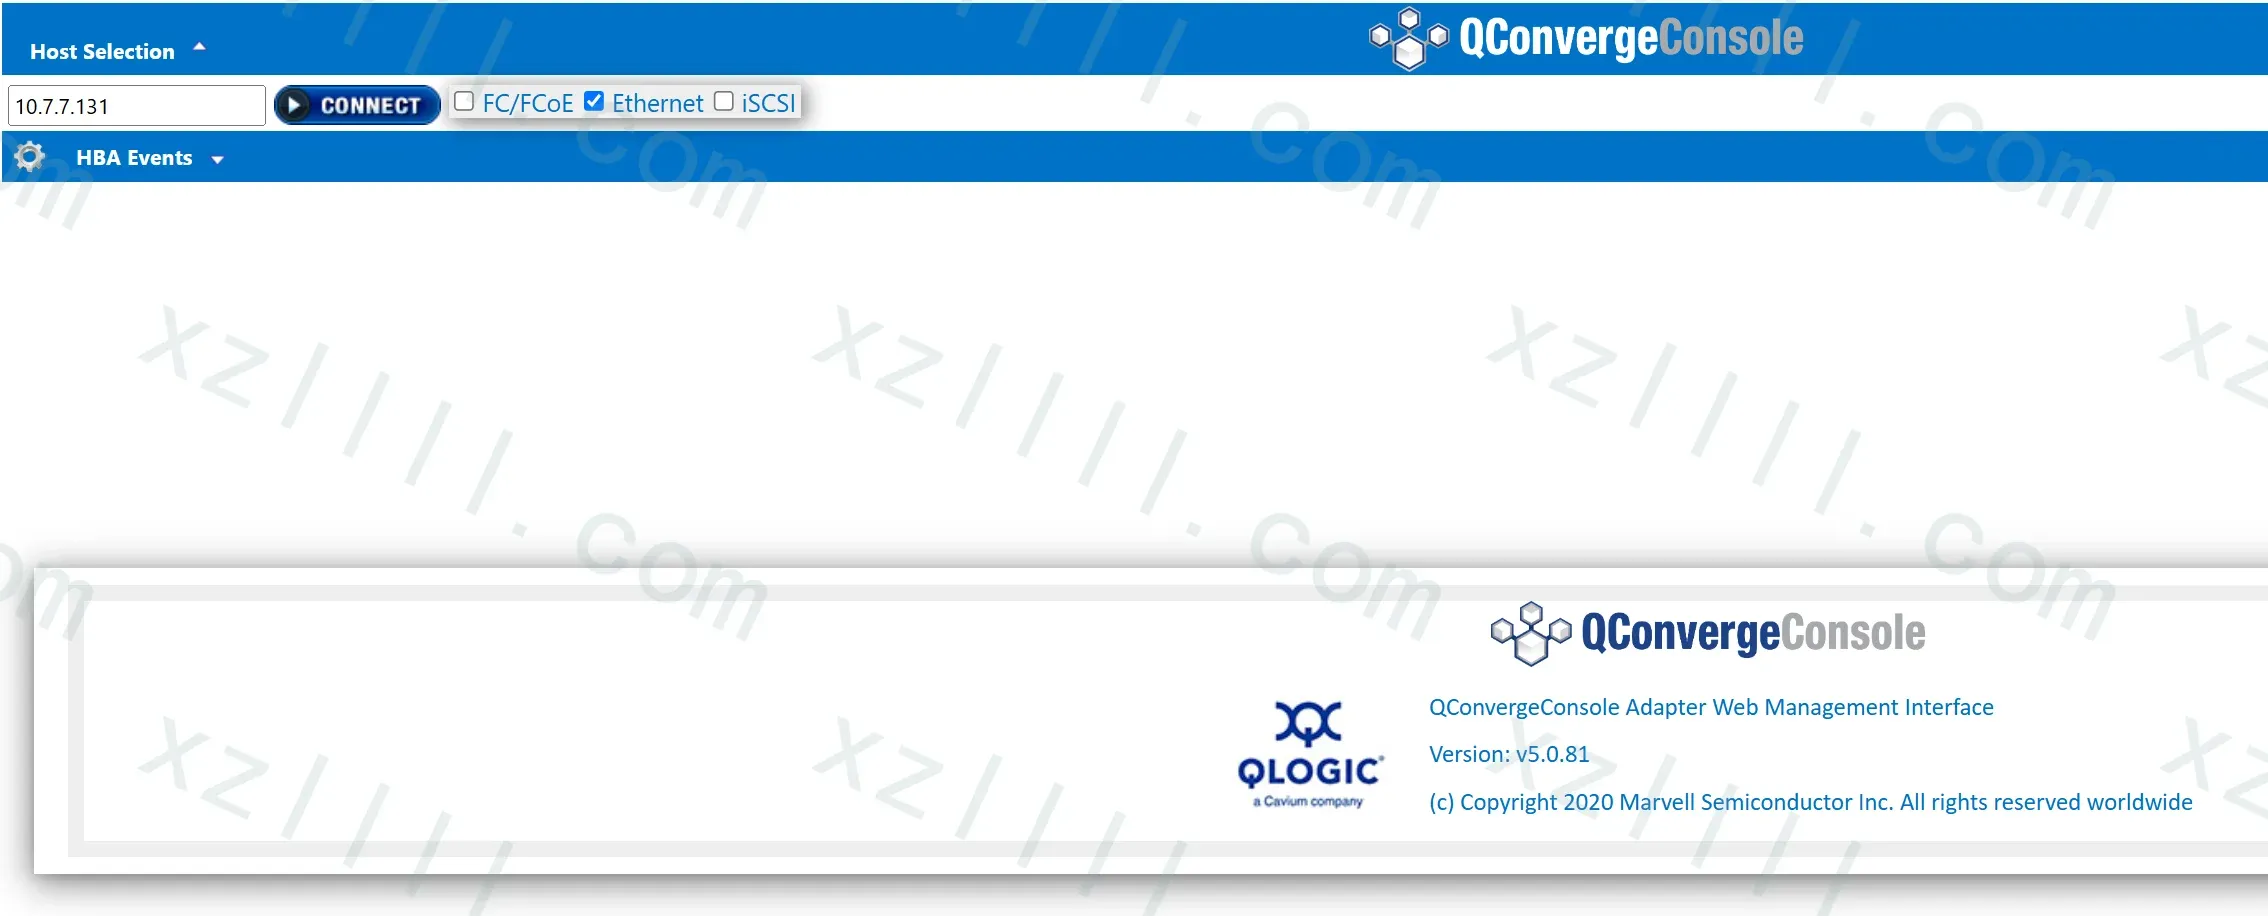
链接时卡在 50% 或者 75% 属于正常现象,耐心等待即可
-
查看网卡信息

-
Advanced Params
这里存在一些可以修改的 Advanced Params

根据自身需要修改 Advanced Params
程序会要求提供 Password 默认为 config